10.2. Adding a new contact
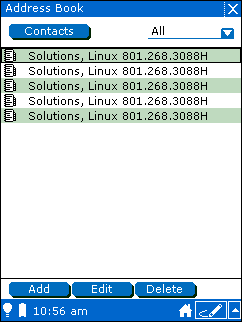
Click the Add button.
The Address Book displays a new blank contact.
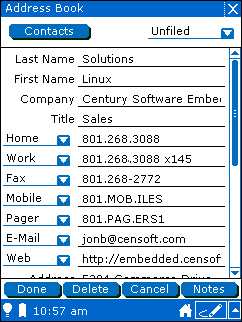
Fill in the fields for this contact.
The Address Book application provides seven fields for contact information such as phone, fax, mobile, and pager numbers and email and web addresses. Each of these fields has a drop-down menu from which you can choose the label for contact data. To store additional information, you can use the four custom fields at the bottom of the contact information.
If you want to categorize this contact, tap the category menu and choose the category to which you want to assign your new contact.
Note: The Address Book application assigns the default category to new contacts based on the active category when you tapped the Add button. For example, if you are viewing contacts in the "Business" category when you tap Add, the Address Book application creates a new contact with the category set to "Business". You can change a contact's category at any time.
When you have finished entering the contact information, tap the Done button.
The Address Book application displays the name of your contacts along with the data from the first contact information field.